Shower corners that leak can be expensive and frustrating. In addition to the annoying 'Drip! Drip! Drip!' A sound that leaky shower tap makes however also carries another risk that is not anticipated. Shower corners that leak could result in floor dampness that could cause the floor to get slippery, leading to injuries from falls or slips. In addition, the water puddles that remain for a long time can cause an unpleasant smell or create an ideal environment for the development of fungi, microbes, or other health hazards. However, all of this can be avoided if you observe the correct guidelines and right tools. You'll be able to successfully repair the leaky shower corner and avoid the expense to hire an expert to repair it.
The Most Frequently Cited Reason For A Leaky Shower Corner
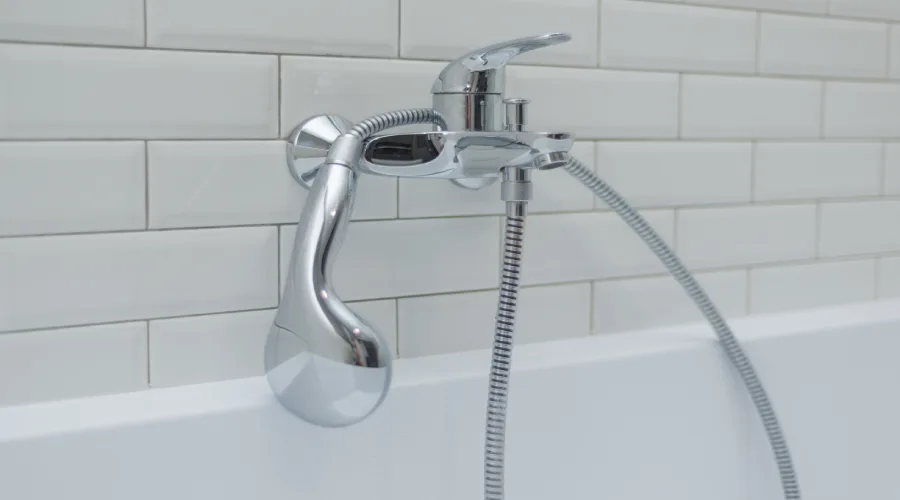
If water starts dripping or drips from the faucet or shower head, it's likely to be an issue with the valve. Shower Remodel Los Angeles solves all problems which Sometimes, this is due to the wear and tear of internal seals or blocked parts because of hard water or corrosion of the components. As time passes gaskets, as well as O-rings made out of rubber used to seal connections between components break down and wear, creating gaps and holes which let water escape through.
Be Cautious When Fixing The Leaky Corner Of The Shower
Find and shut off your shower's supply of water to avoid surprises when you work on it. If you turn off the shower's corner and the water drips out of the corner of the shower and flows out from the shower, the first reaction will be to press the handles as tightly as you can.
However, this can make the issue worse. Check that the handle of your showerhead is off completely, but it is not secure enough! This could result in the valve failing. Place a few towels over the flooring, or inside the tub beneath the shower head and also over the drain, to shield floors and stop any other small parts from being thrown to the bottom of the drain.
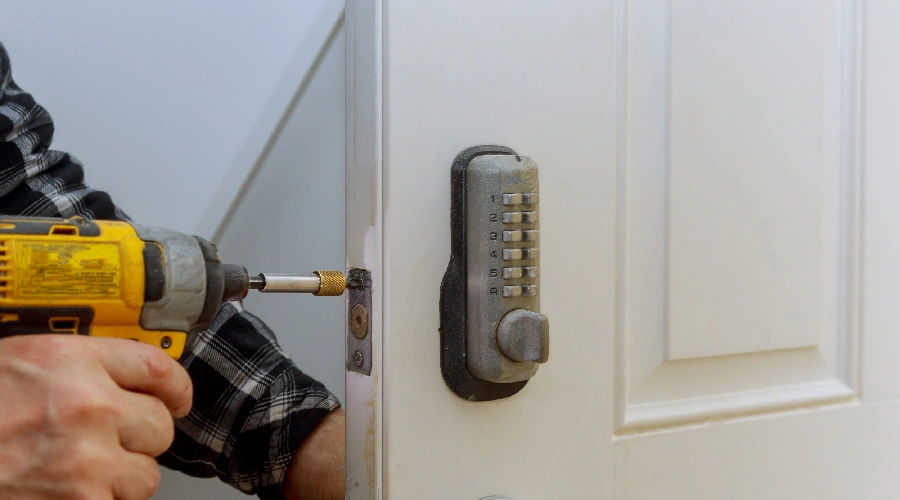
Eliminate The Corner Of Your Shower
Begin by removing the shower corner, allowing you to investigate the issue. The process to get free of this will vary on the particular model. Shower corners of older designs usually include a screw in the center and a locking screw that is attached to the side. And In Bathroom Remodeling all is set, the latest models feature the locking screw concealed within a cap that is encased in the shower. Therefore it is necessary to take off the cap to reveal the screw.
Properly Cleanse Your Shower Head
The next step is to wash away any particles, dirt, or other debris that may affect the performance of the device. This can result in obstructions to water flow or blockage that could result in leaks. Numerous cleaning products are effective. However, if you're looking to save money using a mix made of white vinegar is a great alternative.
In addition, this solution is completely free of harmful chemicals that could harm your shower head. This makes it a great cleaner.
Incorporate the shower's corner into the mix, and allow it to sit for a few minutes before cleaning it with a brush to clean away any dirt left. This can help clean off areas where dirt or grime has been built up and bring the first step toward experiencing an enjoyable shower experience.
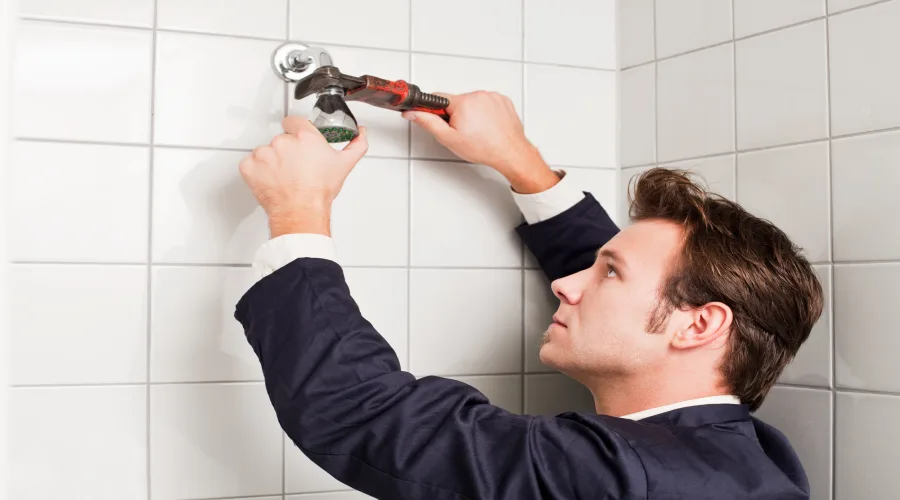
Be Sure To Replace And Secure The O-rings
Once the shower's corner is opened and the shower corner is open, you can examine the O-ring to identify any damage. The O-ring helps to prevent water leaks. If the O-ring appears to be in good condition, put some tape at the edges of the stem, to ensure that the O-ring is properly fixed. If the O-ring is wearing out or is damaged then it's time to consider changing it out with a more recent model.
Refill The Valve Cartridge
Begin by shutting off your main water supply to your water supply at home. Locate your knob, and take off the cap that encases it , exposing the screw. Take off the screw using a screwdriver. Set aside your handle. The top tube must be removed to reveal the valve and then remove the clip that holds the cartridge, which extends over the washer where you place your handle. Remove the handle washer using pliers or a specialized device called a cartridge puller.
Connect The Corner Of The Shower
The final step is to connect the shower's corner with the body. It is important to make sure to tighten the shower corner by hand until it is secure, and then use pliers to tighten it further. Repeat the process the same way you do when taking this from your bathtub, but make sure that you secure the screw. You can check the shower by turning on the water source and allowing it to flow for a short amount of time. After that, shut it off and check if the corner of your shower is still leaking.