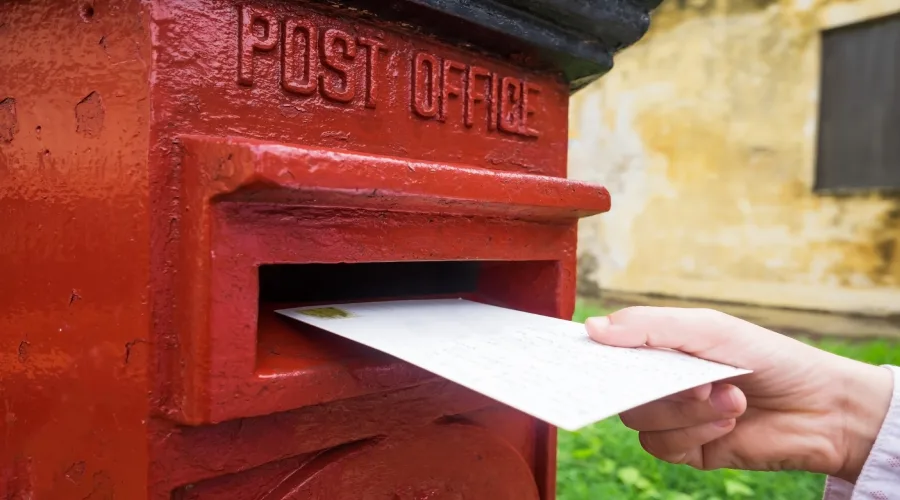
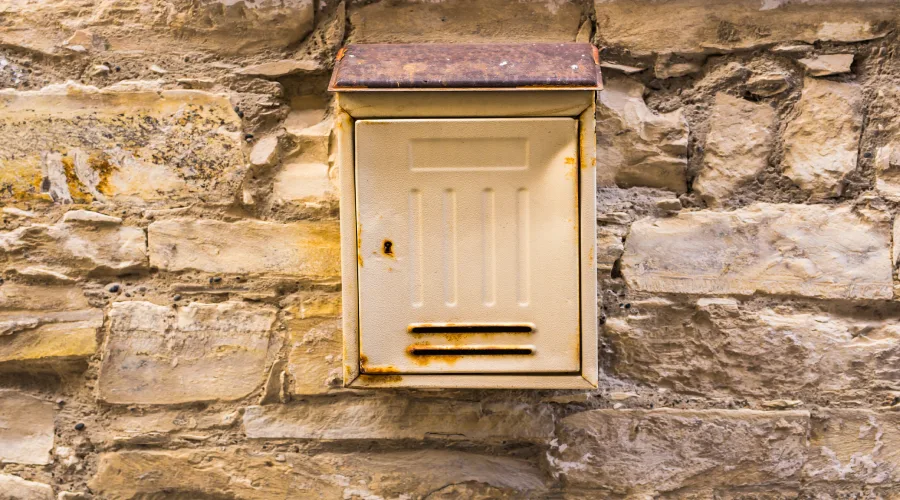
Recently I moved into an older home and found the mailbox key had issues opening the lock. After a few weeks, the mailbox key refused to open it. Great! No matter what I tried (graphite powder and spray included), after a few days of not getting my mail, I knew it was time to replace the lock.
Although we frequently focus on Technology, I love handy DIY tricks, so I thought I’d share this little adventure I had a few days ago. I started the adventure by calling my local post office, and that was a waste of time. They suggested a local locksmith and hung up on me. Yelp pointed me to a
Locks Repair Brampton.
So yeah, you can guess the path we’re going to take on this one. Time to get medieval on the mailbox lock!
What You Need
Replacing the mailbox locks may be challenging if you don’t have the right tools to help you out. Before you start with the tutorial, prepare the items required to prevent any inconvenience in the future.
Replacement Lock
For mailbox lock replacement, the new lock must have the same size as the old one. If the lock is too small for your mailbox, it won’t lock and it can be easily pulled out of the mounting hole. If it’s too big, your key would get stuck once you try to lock it. It’s advisable to check the size of your old lock before purchasing a new one.
Make sure that the mailbox lock is made of tough materials like steel and nickel. Also, it is better if you would purchase a lockset where the nut and keys are already included so you don’t have to buy them separately.
Wrench
Nuts have different shapes and sizes. The wrench that you will use depends on the size of the nuts that the mailbox lock has. The sizes of the nuts range from 2 mm to 20 mm while the size of the wrench ranges from 4 mm to 30 mm.
For this tutorial, an adjustable wrench is handy. It is the most common type of wrench. Compared to some wrenches, this one has an open end and a flexible jaw.
Drill And Drill Bit (Optional)
If you own the mailbox then you are free to drill it. But if it is owned by USPS, don’t drill the mailbox lock since it is illegal. You can use a cordless drill for your mailbox since it would provide you with mobility. It would also save you from using an extension wire, especially if your mailbox is far from your house.
For the drill bit, you can use titanium or cobalt since you will be dealing with metal. You can use a smaller size bit to prevent damaging the housing of the lock. Your goal is to open the mailbox lock and not to create a hole in it.
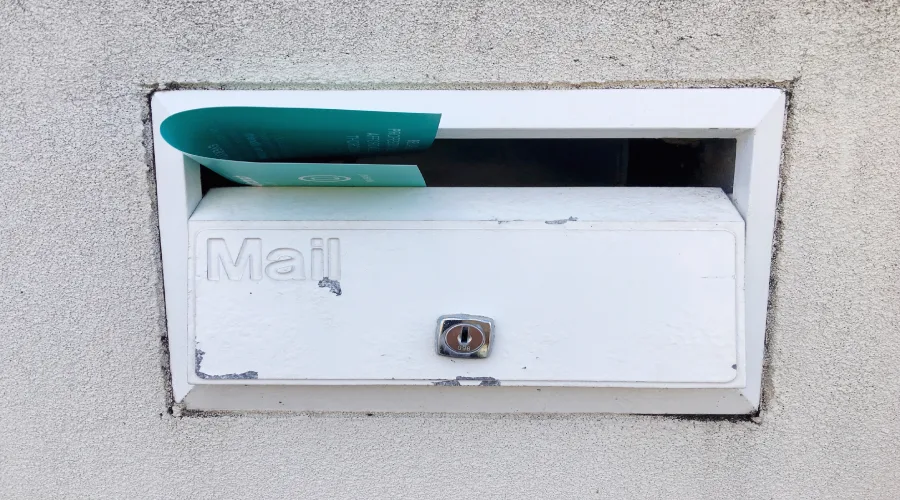
Replace Mailbox Lock
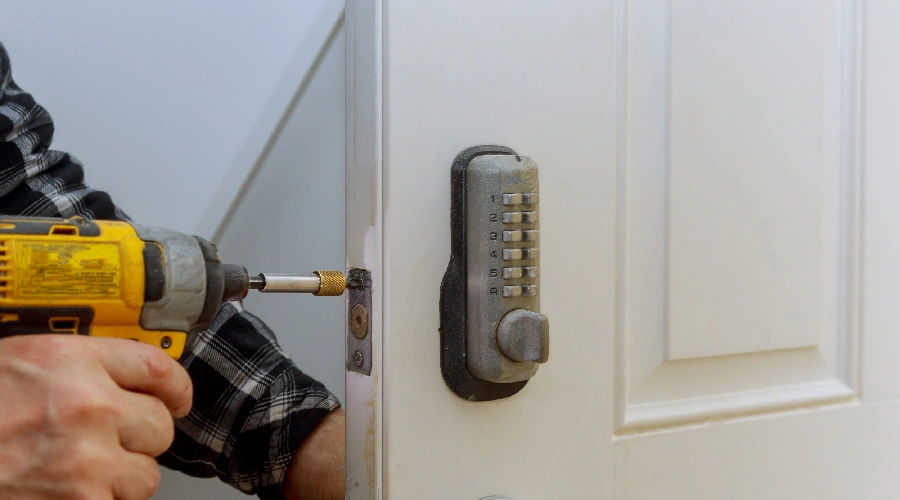
Thankfully I have a cordless drill, so I grabbed a bit that fit nicely into the keyhole of the lock. The primary goal here is not to damage the housing holding the lock, so don’t use a lot of pressure when drilling into the lock. Just drill straight and apply consistent pressure.
Note: If you’re not the adventurer / handy type or don’t have a drill, wait for your mail carrier. They will have access to the back of the mailbox, and you can perform the steps below from inside the box. It’s not nearly as fun, but that is another option.
Once you drill through the entire lock mechanism, the mailbox door should open easily.
Slide the lock bar and metal clip holding the lock mechanism against the door. In some cases, the lock nut may still be attached to the lock. Use a wrench to take off the nut (although, in my case, the drill took care of that for me).
Without the clip holding the lock in place, pop up the entire mechanism and bring it to a local locksmith. In my case, although my original lock was 15 years old, he had an exact match that cost me just $12. However, if you cannot find a local locksmith (or don’t have time), grab a replacement mailbox lock from
Locksmith Toronto. The National Mailbox Lock C9100 should do the trick for clockwise rotation or the C9200 for counterclockwise.
Note: If you’re an HOA or Apartment complex and need more than one lock, here’s a link for the C9100 lock or C9200 in bulk.
Once you have the new lock, slide it into the lock housing the reattach it in a locked configuration (lock bar out).
Screw on the nut, and you’re done.
Summing Up
The new mailbox lock I purchased was a bit sticky. I solved this with a little Graphite Powder. Amazon has it listed for ~$5; however, I found it at a local HW store for under $2 the next day.
In all, the entire job took no longer than 5 minutes (not counting the trip to the locksmith). Not bad, considering the quote from the locksmith $250. I’ve always enjoyed DIY projects, especially the ones with a drill involved. It’s an excellent bonding opportunity for my son and me and a good way to show with a little work; almost any job is possible with a little time and patience.
Things To Beware Of Before Replacing The Lock
Now that you have the answers to some key questions, you're almost ready to replace your mailbox lock. Before you get started, we'll share a few warnings:
Do Not Tamper With Usps Arrow Locks
If you own a cluster mailbox or if you are a tenant that receives mail via cluster mailbox, then your mailbox uses a USPS arrow lock. Put down the drill and back away from the mailbox. Replace the arrow locks require assistance from your local USPS branch. If you need help opening the master door to your mailbox so you can replace an individual tenant lock, that's fine -- contact your local post office, and they should send someone to open the master door.
When you tamper with an arrow lock, you may face hefty fines or even jail time. Don't mess around. Contact your local post office for assistance.
Do Not Pick Or Drill The Lock Mechanism Directly
If you pick or drill the lock directly, you may cause serious damage to the lock housing or even the mailbox itself. Check out our key steps below to determine how to drill out a mailbox lock and get the job done right.
If you're not sure you can handle the job yourself, you can always call a locksmith and leave the job to a pro. You can also reach out to your local postmaster with questions.